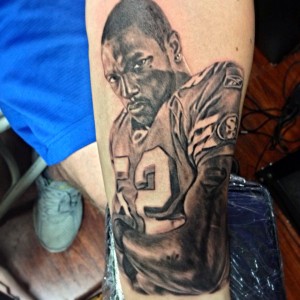
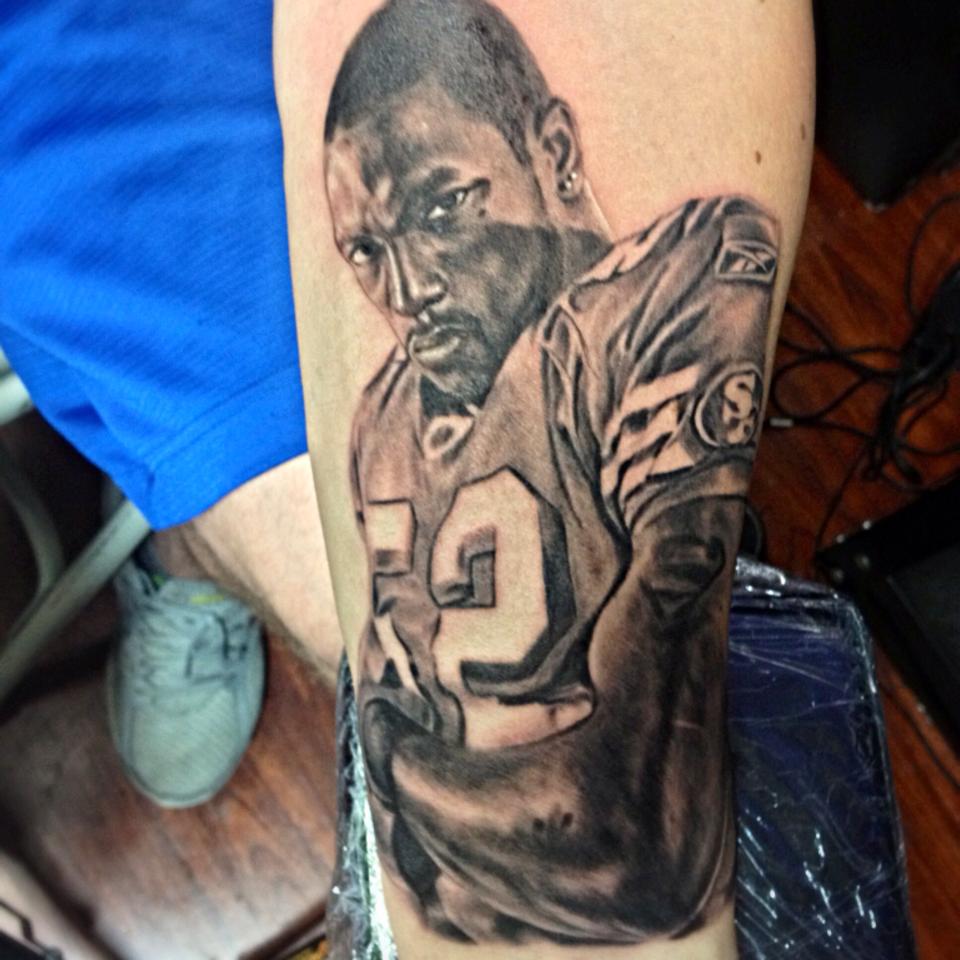
Things to Consider when Tattooing Portraits… Tattoo Portrait Tips
Tattoo Shading is an exceedingly precise yet optimal task when it comes to Black and Grey…
black and grey is not a Style where one thing will work for everyone.
Here are some ideas you may find useful when doing Black and Grey:
#1 Some of the important aspects are clients skin tone and their skin types.
when tattooing darker skin you don’t really have the option to go in with half tones and those really really light tones, but that doesn’t mean you can’t do a nice tattoo!
I recommend creating a pallette of darker tones for darker skin clients, and I eliminate some of the lighter tones that I know won’t show up.
#2 Darker skin tends to swell more and look shinier than lighter skin..
the swelling may cause confusion as to what ink is sticking and what isn’t… Trust your process, Don’t make the rookie mistake of grinding over and over on the skin.
Trust the Process don’t overdo the process.
#3 The Concentration of the ink will determine the shading effect..
The best thing I recommend for consistent shading is to get a Greywash Set..
some of you may still be doing that whole old-school mixing your own crap… please stop!
Tattooing is about Consistency, and Systems. When you have a consistent greywash you are eliminating the guesswork of which tone will come out of that cup.
NO BRAINER.
What works best for me right now is Ron Meyers Greywash.
Rinse your tube thoroughly when using a darker shade of ink and going to a lighter, or else you’d end up spitting a bit of darkness into your lighter tones.
Build your self-awareness on which tone is in which cup.
Confused about which tones is in which cup of greywash?
I used to too, especially when trying out different brands and I found a Solution…
This Technique clears that confusion of what tone will come out of what cup…
For sophisticated creamy looking blends you might want to consider the 2 Drop Technique which is basically adding 2 drops of white ink into diluted greywashes.
*See exactly how to do it Here and the Benefits: The 2 Drop Technique
#4 The Depth of the needles is to be handled carefully when shading..
(Note: this applies to rotaries mostly NOT coil machines.. I believe Coils are never as reliable and consistent as rotaries and they both have a different way of approaching tattooing the stretching the skin might apply on coils but its mostly for using rotaries)
For Solid blacks go in a bit deeper and you can also tighten the skin more.
Stretching the skin while tattooing would give you a darker tone when once released.
When going for softer shading you will go in less deep and/or hold the skin less tight..
This is something you’ll learn through experience and adapt to when tattooing you’ll get a “feel” if an area needs more or less pressure.
If you’re wondering what type of machine I use currently I use a Spektra rotary
you can see what they are all about right through this link
Needle groupings are also very essential for the blends and play a big role for soft blends. Larger the magnum amounts to greater smoothing when used correctly..I prefer Curved Magnums.
Now with my Spektra if you’re wondering what needles I use
Keep Reading…

#5 Hand Angle is Very important when it come for softer shading effects.
A slightly tilted positioning of your hand let’s say 45 degree, may alter the blends very neatly and impart a gorgeous faded look..
Keep your hand and frequency in accordance to the machines hand and frequency for perfect tattoo filling and designs. This Comes with practice you will get the “feel”…
One More Thing:
In the Comment Section Below Let Me know what supplies YOU use and any tips you think should be included in this post.
Thanks So much I look forward to reading EVERY SINGLE ONE.
if you’re looking to build your Confidence with Portraits Check out the Free Bonus Mini-Tutorial in the Link Below:
Bonus Mini-Tutorial: The Realistic Portrait System Video
[activecampaign]


