,

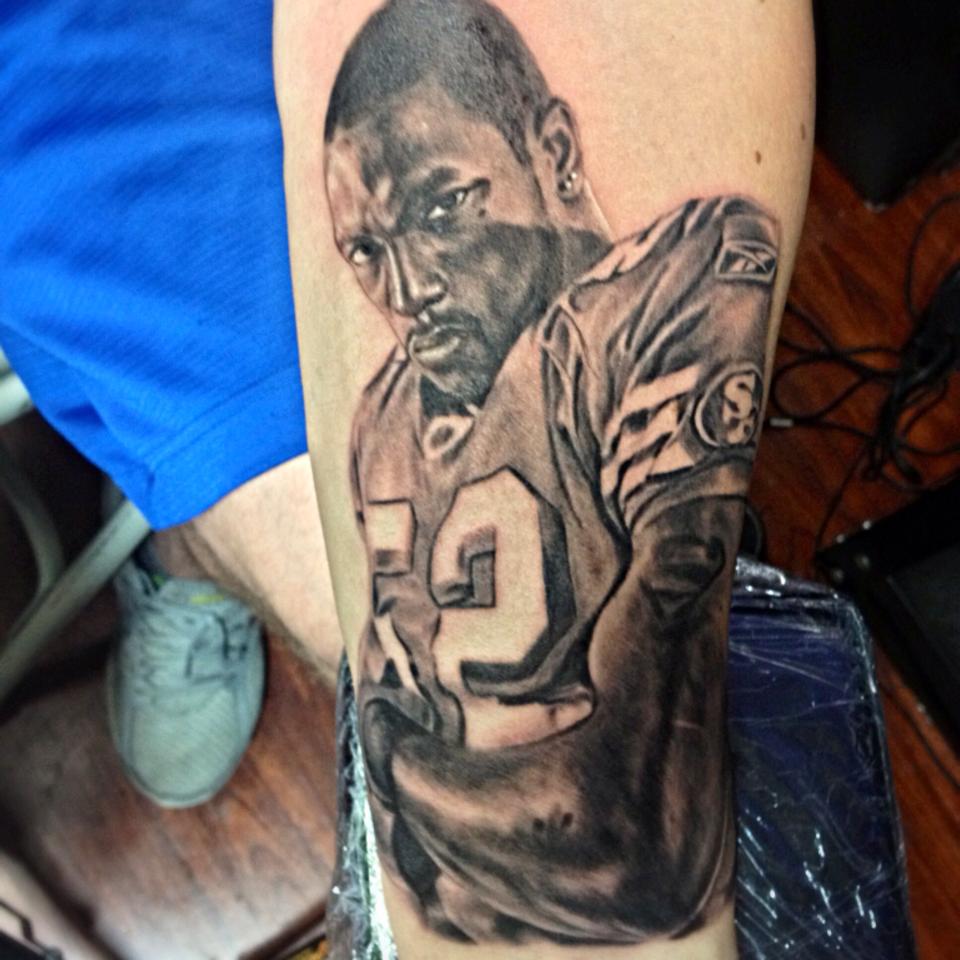
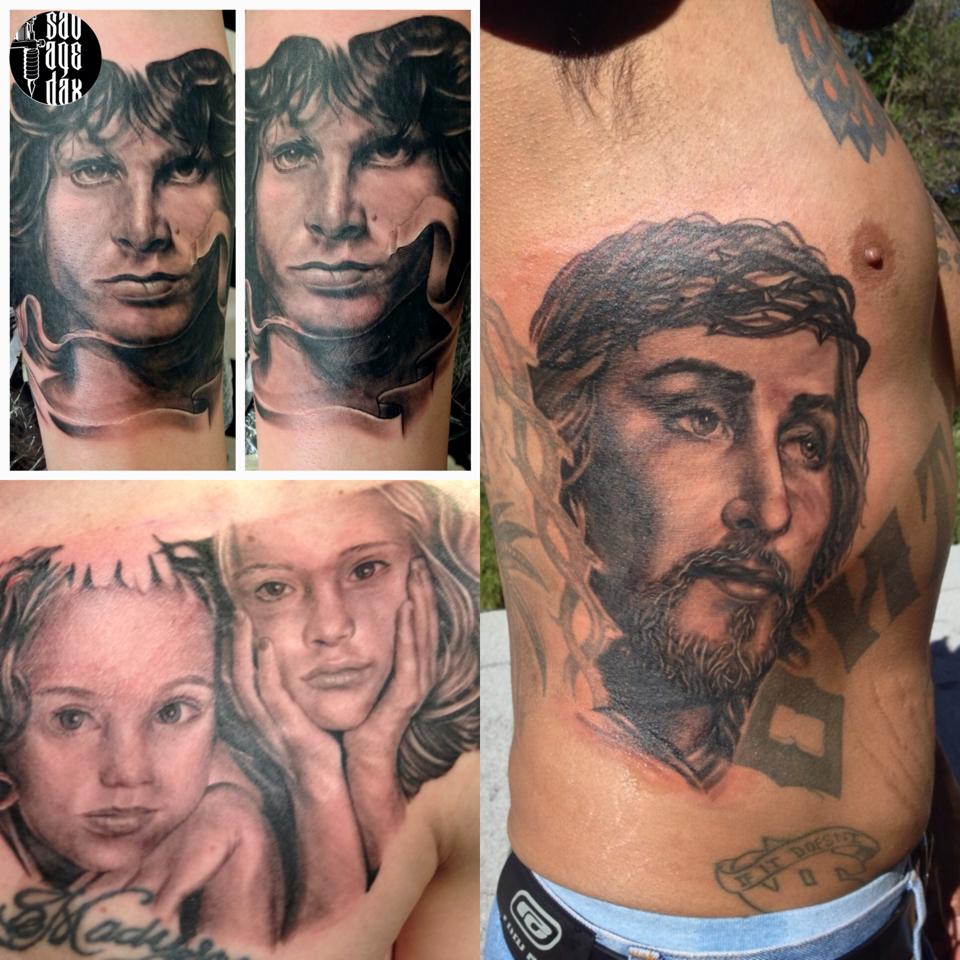
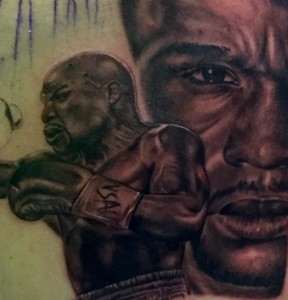
How To Tattoo Portraits Step-By-Step with my System

Ok! so today marks the 5th piece of Content for our FREE Series

BUT…

This isn’t where it ends!

below you have access to a free mini-tutorial video you can use to help bring clarity to the step by step process of doing a black and grey Portrait.

(finish reading this article and watch the video immediately!)

Maybe You’ve heard by now about what I call The Realistic Portrait System..

If so, cool this is a refresher and will crystallize your UNDERSTANDING.

If not..

Let me introduce you now:

It’s the simplest, most effective way to do black and grey portraits that I have found…

And it WORKS.

Not just for me but for many artists I’ve had the pleasure of coaching.

It’s a 3 step process.

and when you KNOW the process of something– that opens you up to something VERY valuable…

that brings CLARITY and CONFIDENCE.

because you know where to start, you know where you’re at, and you know where you’re going…

No more Spaghetti Tattooing this is a PROVEN SYSTEM.

Below is a Link to a Free Mini-Tutorial where I break down my system

P.S. check your email from me on: March 31st Thursday 8AM 

Realistic Portrait System Video:

Click Here to Watch The Video


,

Things to Consider when Tattooing Portraits… Tattoo Portrait Tips

Tattoo Shading is an exceedingly precise yet optimal task when it comes to Black and Grey…

black and grey is not a Style where one thing will work for everyone.

Here are some ideas you may find useful when doing Black and Grey:


#1 Some of the important aspects are clients skin tone and their skin types.

when tattooing darker skin you don’t really have the option to go in with half tones and those really really light tones, but that doesn’t mean you can’t do a nice tattoo!

I recommend creating a pallette of darker tones for darker skin clients, and I eliminate some of the lighter tones that I know won’t show up.


#2 Darker skin tends to swell more and look shinier than lighter skin..

the swelling may cause confusion as to what ink is sticking and what isn’t… Trust your process, Don’t make the rookie mistake of grinding over and over on the skin.

Trust the Process don’t overdo the process.


#3 The Concentration of the ink will determine the shading effect..

The best thing I recommend for consistent shading is to get a Greywash Set..

some of you may still be doing that whole old-school mixing your own crap… please stop!

Tattooing is about Consistency, and Systems. When you have a consistent greywash you are eliminating the guesswork of which tone will come out of that cup. 

NO BRAINER. 

What works best for me right now is Ron Meyers Greywash

Rinse your tube thoroughly when using a darker shade of ink and going to a lighter, or else you’d end up spitting a bit of darkness into your lighter tones.

 Build your self-awareness on which tone is in which cup.

 Confused about which tones is in which cup of greywash?

I used to too, especially when trying out different brands and I found a Solution…

The 2 Drop Technique.

This Technique clears that confusion of what tone will come out of what cup…

For sophisticated creamy looking blends you might want to consider the 2 Drop Technique which is basically adding 2 drops of white ink into diluted greywashes.

*See exactly how to do it Here and the Benefits: The 2 Drop Technique


#4 The Depth of the needles is to be handled carefully when shading..

(Note: this applies to rotaries mostly NOT coil machines.. I believe Coils are never as reliable and consistent as rotaries and they both have a different way of approaching tattooing the stretching the skin might apply on coils but its mostly for using rotaries)

For Solid blacks go in a bit deeper and you can also tighten the skin more.

Stretching the skin while tattooing would give you a darker tone when once released.

When going for softer shading you will go in less deep and/or hold the skin less tight..

This is something you’ll learn through experience and adapt to when tattooing you’ll get a “feel” if an area needs more or less pressure.

If you’re wondering what type of machine I use currently I use a Spektra rotary

you can see what they are all about right through this link

Needle groupings are also very essential for the blends and play a big role for soft blends. Larger the magnum amounts to greater smoothing when used correctly..I prefer Curved Magnums.

Now with my Spektra if you’re wondering what needles I use

I prefer to use Ego Grips and Cheyenne Hawk Cartridges which can be ordered through my main supplier here.

Keep Reading…

10374472_10200909705783438_5697559106354678533_n


#5 Hand Angle is Very important when it come for softer shading effects.

A slightly tilted positioning of your hand let’s say 45 degree, may alter the blends very neatly and impart a gorgeous faded look..

Keep your hand and frequency in accordance to the machines hand and frequency for perfect tattoo filling and designs. This Comes with practice you will get the “feel”…

One More Thing:

In the Comment Section Below Let Me know what supplies YOU use and any tips you think should be included in this post.

Thanks So much I look forward to reading EVERY SINGLE ONE.

if you’re looking to build your Confidence with Portraits Check out the Free Bonus Mini-Tutorial in the Link Below:

Bonus Mini-Tutorial: The Realistic Portrait System Video


[activecampaign]
,

How To Tattoo Black And Grey Portraits: Quick Tips for the Professional

Are you frustrated by black and grey portrait tattoos?

This article is going to help you grasp the basics of tattooing a black and grey portraits:

First Off, if you want to create three-dimensional realistic portraits There’s a few things you should know.

Portraits are to be taken seriously, if you don’t know how to use the tools in your hands DON’T ATTEMPT ONE!!

black and grey shading helps you create stunning details in your tattoos and you’ll need to know how to shade properly if you want to tattoo portraits.

If you’re looking for Tips on shading I HIGHLY RECOMMEND Testing out my

 2 Drop Technique  if you haven’t already.

Ironically,

black and grey portraits are one of the WORST looking tattoos if done improperly. 

So you really have to master the art and learn the process before you get to a serious attempt.

Keep Reading…

Here’s a Few tips on how I tattoo all of my black and grey portraits:


1- First Things First-

use a good reference and make a good stencil, the stencil is like the “framing” to a house,

make sure to build a strong foundation if you want to do an exceptional portrait.

All your results in Life and Tattooing amount to your actions,

the steps you take to prepare for a portrait determines what you get out of one. there are no shortcuts.

Have Supreme Confidence with the process.

*If you are lacking confidence or unclear about the process of a portrait:

Check out the Free Bonus Mini-Tutorial at the bottom of the page about the Realistic Portrait System. 


2- Use a stencil solution.

If you’re still using green soap smack yourself! there’s benefits to stencil solutions..

Stencil solutions are consistent and they stick WAY LONGER than green soap or any of that old-school stuff.

I like to use Electrum Stencil Primer for my stencils and it takes a HUGE weight off my shoulders when tattooing portraits because i don’t have to worry about the stencil wiping away.


3- Put a reference picture next to the skin.

This might sound like it doesn’t matter but believe me, there’s a MAJOR relief on your brain and eyes when you shorten the length from your reference pic to your tattoo..

ever seen mis-proportioned portraits?

they might be because of how they set up their reference picture..

when your reference is right next to skin you can reference proper angles, shades, shadows, I could go on and on…

It’s these small things that make the BIG difference. 

The easier you make doing a portrait on your brain the more energy you’ll have to focus on the technical skills of needle to skin.

Start from the bottom right and break your portrait into specific areas.

If you start from the top, chances are you are going to wipe away the stencil while you move your hand down in strokes. Common Sense I know but common sense isn’t so common these days..  


4- DO NOT start with lining.

that is unless you want your portrait to look like a robot..

robots have lines in them, not human faces lol…

instead,

focused more on shading specific areas.. sculpting them.

Start with the lights and go dark.

and then after the shading is done go back with a smaller needle to tighten up some of the small details.

*If you want to know more about the process and my step-by-step system make sure to download the BONUS VIDEO at the bottom of the page.


5- Needle Tips.

In my opinion, the best tattoo needle for a black and grey portrait is a curve magnum needle. 

The curve magnum tattoo needle allows you to shade in areas softly and the key to doing a portrait is soft, feathery strokes. 

At the very end, when all areas are shaded in, you may want to use a small round liner to outline on the darkest shaded areas to give the portrait additional definition.

6- Greywash Tips-

In black and grey portraits when using grey washes when they are freshly done they tend to look a little darker than when they are healed. So realistically there should be no skin tone in a realistic portrait.

*For More Greywash Tips Check out this Post: Black and Grey Shading Techniques

Shadow and Highlighting Tips-

Always pay attention to where the light source is coming from and where the shadows are being reflected.

Put a little bit of white where the light source is coming from and then put a little bit of shadow opposite to that.

Use the white sparingly in your portrait tattoo.

Using too much white will make your tattoo lose dimension and look less realistic.


If you want to take your tattoo skills to the next level Check out the Bonus Video Below:

FREE BONUS DOWNLOAD: The Realistic Portrait System Mini-Tutorial Video

,

How To Shade Consistent Greywash Tones…

One of the BIGGEST struggles I hear about from artists and my students is getting the right tones and values in their black and grey tattoos..

I know the struggle..

All of the tones in the caps look the same…!

and yea, we can just dip and guess.

but…

What if we could see the tones that are going in the skin, in the ink cup…?

That would help us with becoming more confident in what tone we put into the skin right…?

There is a way…(Keep Reading)

3

The 2 Drop Technique does just that! (click the blue link to see what its about)

Less guesswork, resulting in MORE CLARITY and MORE CONFIDENCE with our black and grey tattoo portraits!

IMPORTANT: the 2 drop technique isn’t a “magic pill” you may still need to test and learn how to mix between all of the tones to achieve smooth transitions..

I recommend experimenting with this for a FULL 30 days to get the FULL EFFECT!

there is no shortcut here unfortunately.

My best advice when learning how to use greywash is to

Invest into a pre-made set and use the 2 Drop Technique.

Why?

because consistency is key to tattooing..

and consistency in your washes means you you can rely on your greywash and build GOOD HABITS.

when you understand the tones in each cup it makes it a lot more clear in achieving certain tones from your reference pictures and transitioning those tones!

Fuck the Guesswork! lol

and please don’t be one of those goons that only uses just the tones in the caps,

it’s Natural, in fact its good,to dip between greywash caps in order to get a certain tone..

just make sure to be aware of what tone you have in your cap before dipping into the others..

for example,

it’d be plain STUPID to dip from black or darkest grey, into your lightest because it’ll change your lighter wash into a darker wash…

the key is to bring your awareness into how you use your greywash in the moment. Start to pay attention to what you’re doing and if you do end up with darker tones in your needle, make sure to rinse your needle off in your rinse cup before dipping into the light wash again.

one more thing, 

if you’re new to greywash all around, start off with shading a small area of the skin with your lightest, and test out the tones in each cap from light to dark to build your comfort.

Leave A Comment Below letting me know how this works for you

and if you like this post SHARE it, Thanks so much!

(p.s. I did this on myself when first testing greywashes, here’s a pic below, and yes I still have this tattoo on my leg lol.)

FREE BONUS MINI-TUTORIAL: How to Tattoo a Portrait Using my Step-By-Step System FullSizeRender (20)


[activecampaign]