How To Tattoo Black And Grey Portraits: Quick Tips for the Professional
Are you frustrated by black and grey portrait tattoos?
This article is going to help you grasp the basics of tattooing a black and grey portraits:
First Off, if you want to create three-dimensional realistic portraits There’s a few things you should know.
Portraits are to be taken seriously, if you don’t know how to use the tools in your hands DON’T ATTEMPT ONE!!
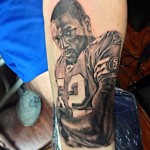
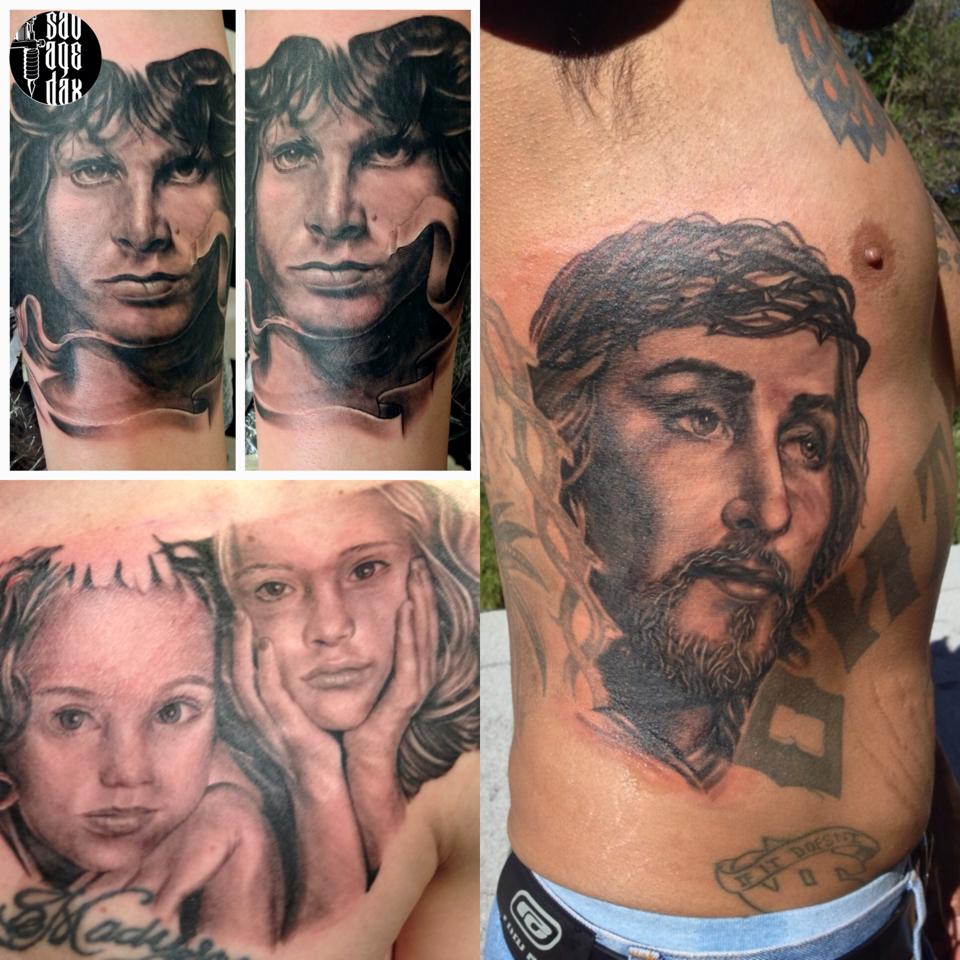
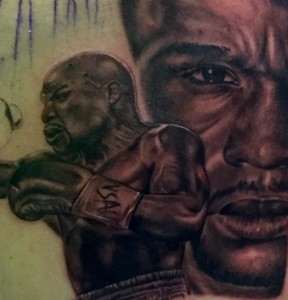
black and grey shading helps you create stunning details in your tattoos and you’ll need to know how to shade properly if you want to tattoo portraits.
If you’re looking for Tips on shading I HIGHLY RECOMMEND Testing out my
2 Drop Technique if you haven’t already.
Ironically,
black and grey portraits are one of the WORST looking tattoos if done improperly.
So you really have to master the art and learn the process before you get to a serious attempt.
Keep Reading…
Here’s a Few tips on how I tattoo all of my black and grey portraits:
1- First Things First-
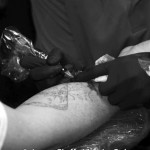
use a good reference and make a good stencil, the stencil is like the “framing” to a house,
make sure to build a strong foundation if you want to do an exceptional portrait.
All your results in Life and Tattooing amount to your actions,
the steps you take to prepare for a portrait determines what you get out of one. there are no shortcuts.
Have Supreme Confidence with the process.
*If you are lacking confidence or unclear about the process of a portrait:
Check out the Free Bonus Mini-Tutorial at the bottom of the page about the Realistic Portrait System.
2- Use a stencil solution.
If you’re still using green soap smack yourself! there’s benefits to stencil solutions..
Stencil solutions are consistent and they stick WAY LONGER than green soap or any of that old-school stuff.
I like to use Electrum Stencil Primer for my stencils and it takes a HUGE weight off my shoulders when tattooing portraits because i don’t have to worry about the stencil wiping away.
3- Put a reference picture next to the skin.
This might sound like it doesn’t matter but believe me, there’s a MAJOR relief on your brain and eyes when you shorten the length from your reference pic to your tattoo..
ever seen mis-proportioned portraits?
they might be because of how they set up their reference picture..
when your reference is right next to skin you can reference proper angles, shades, shadows, I could go on and on…
It’s these small things that make the BIG difference.
The easier you make doing a portrait on your brain the more energy you’ll have to focus on the technical skills of needle to skin.
Start from the bottom right and break your portrait into specific areas.
If you start from the top, chances are you are going to wipe away the stencil while you move your hand down in strokes. Common Sense I know but common sense isn’t so common these days..
4- DO NOT start with lining.
that is unless you want your portrait to look like a robot..
robots have lines in them, not human faces lol…
instead,
focused more on shading specific areas.. sculpting them.
Start with the lights and go dark.
and then after the shading is done go back with a smaller needle to tighten up some of the small details.
*If you want to know more about the process and my step-by-step system make sure to download the BONUS VIDEO at the bottom of the page.
5- Needle Tips.
In my opinion, the best tattoo needle for a black and grey portrait is a curve magnum needle.
The curve magnum tattoo needle allows you to shade in areas softly and the key to doing a portrait is soft, feathery strokes.
At the very end, when all areas are shaded in, you may want to use a small round liner to outline on the darkest shaded areas to give the portrait additional definition.
6- Greywash Tips-
In black and grey portraits when using grey washes when they are freshly done they tend to look a little darker than when they are healed. So realistically there should be no skin tone in a realistic portrait.
*For More Greywash Tips Check out this Post: Black and Grey Shading Techniques
Shadow and Highlighting Tips-
Always pay attention to where the light source is coming from and where the shadows are being reflected.
Put a little bit of white where the light source is coming from and then put a little bit of shadow opposite to that.
Use the white sparingly in your portrait tattoo.
Using too much white will make your tattoo lose dimension and look less realistic.